A couple of years ago I kicked off a project to open source my company’s internally built content management system. Our CMS had distinct advantages over the the existing range of .NET alternatives, but as time went on it became increasingly difficult to sell a closed-source solution to clients.
The decision was made to open source our CMS, and since so much of the codebase would be changing during this process it seemed an opportune moment to also migrate the project to .NET Core. The result is Cofoundry, one of the first content management systems to target .NET Core.
There is a significant amount of work that goes into taking a codebase that’s existed behind closed doors for years and preparing it for public use. Much of the work is coding, including re-namespacing, standardizing and renaming classes, cleaning up comments and auditing dependencies, but a significant portion of work is less technical: picking a license, defining a project workflow, stakeholder buy-in, and of course, the all-important task of naming the project.
One very important task that often gets overlooked on any IT project is documentation. It’s not the most exciting task but I was keen to have a strong foundation of documentation from the start that we could then build upon as the project progressed.
XML Documentation
I’m a big fan of the comment hints that surface through IntelliSense, providing key clarification right when you need it without leaving the editor. The XML documentation features built into the .NET framework make this really simple to create, but some libraries seem to rely on this as the main source of online documentation, and often use auto-generation tools to create reams of documentation filled with low quality comments.
In my opinion a good XML comment should cover the main questions a developer might ask when consuming your API and add any clarification to functionality that isn’t obvious from the name. If the functionality is plainly obvious then there’s no need to provide a comment and your time is better spent improving the quality of other documentation.
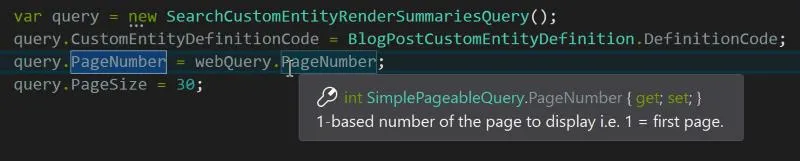
Providing good quality XML comments is a time consuming process, but it’s well worth the effort if your library is going to be used by many people. For Cofoundry our XML documentation was sparse when we first started the conversion, but we’ve been improving it as we go a little at a time and it’s really starting to come together.
GitHub Wiki
XML comments are great for basic clarification of API and domain model members, but it’s also important to document higher level concepts, detailed code samples and other overarching project details.
The source code for Cofoundry is published on GitHub which provides an easy to find wiki area for documentation, backed by it’s own git repository. The wiki is simply a collection of markdown documents which makes it really easy to update, either by using the online editing tools or by cloning the wiki repository and working with the files locally.
The wiki functionality can be a bit limiting, especially in terms of navigation on larger documentation repositories, but it is the quickest and simplest way to get started and so I decided that was the best place to begin. At some point in the future we’ll probably migrate the documentation onto cofoundry.org which will give us more control over how we present the navigation and handle versioning.
Working with Markdown
Markdown is designed to be simple and easy to create from a text editor, and for the average repo readme file I’d been quite happy to use my old favourite Notepad++ or the online editors provided by GitHub or BitBucket, but as the Cofoundry documentation got bigger I started to look for other tools to help me.
There wasn’t too much I needed from a Markdown editor, the ideal feature list would include:
- Syntax highlighting
- Spellchecking
- Document preview
- File explorer pane
I didn’t do extensive research but I was surprised to find that there weren’t too many options out there that ran on Windows. My first thought was to try out Visual Studio Code, but at the time there wasn’t much in the way of Markdown support.
Right about this time I’d seen seen a blog post by Rick Strahl about his latest project Markdown Monster and thought it would be an apt time to give it a go.
Working in Markdown Monster
Rick does a great job of explaining the key features of the editor in his extensive GitHub readme, so here I’ll just cover what I found most useful.
It’s also important to note that Markdown Monster is written in WPF so it is a Windows only application.
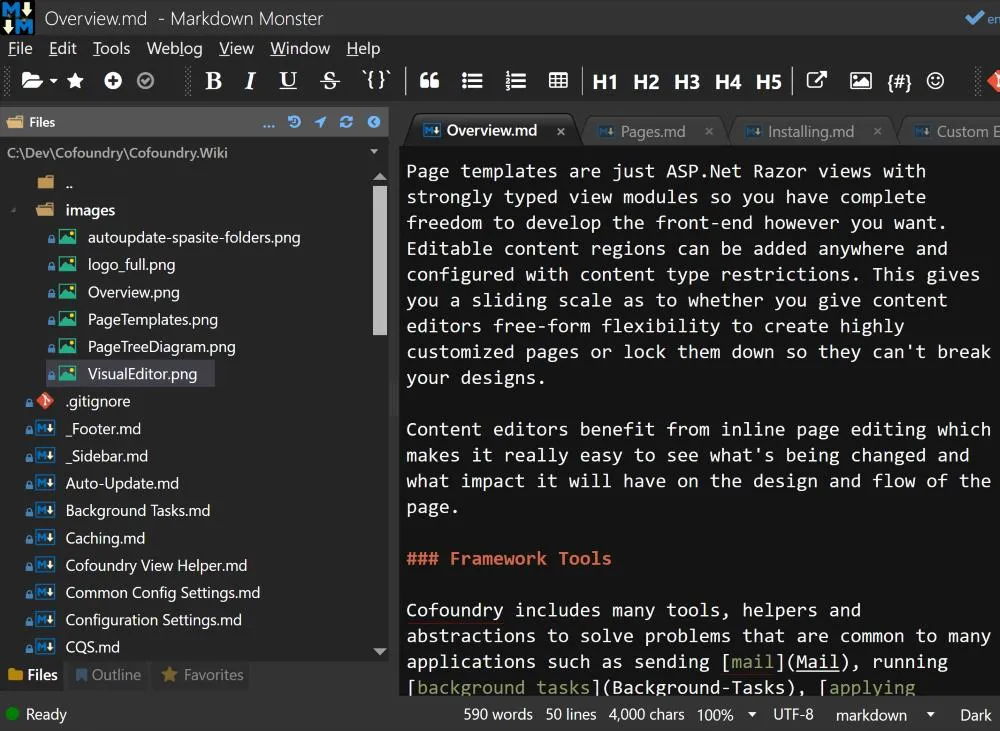
Overall Markdown Monster is a very polished and comprehensive Markdown editor, most importantly it performs the key functionalities well - syntax highlighting, spell checking, tabbed document windows and a versatile preview pane.
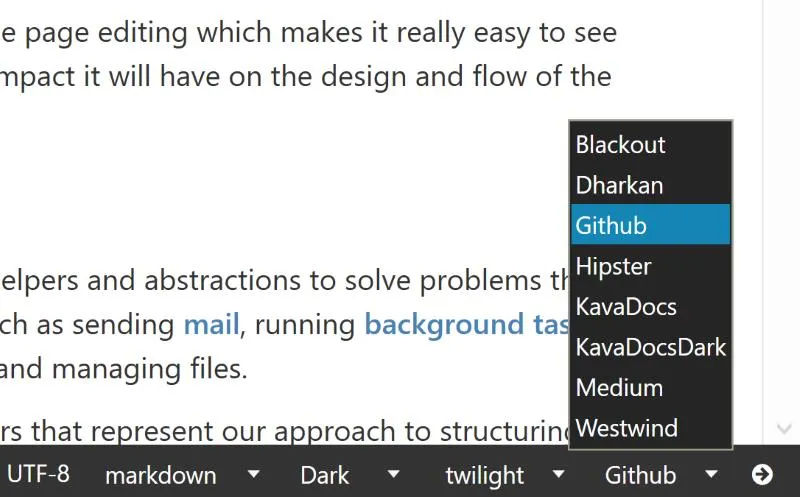
The default dark theme is excellent and there’s enough built-in editor and preview themes that I’ve never needed to go looking for more options.
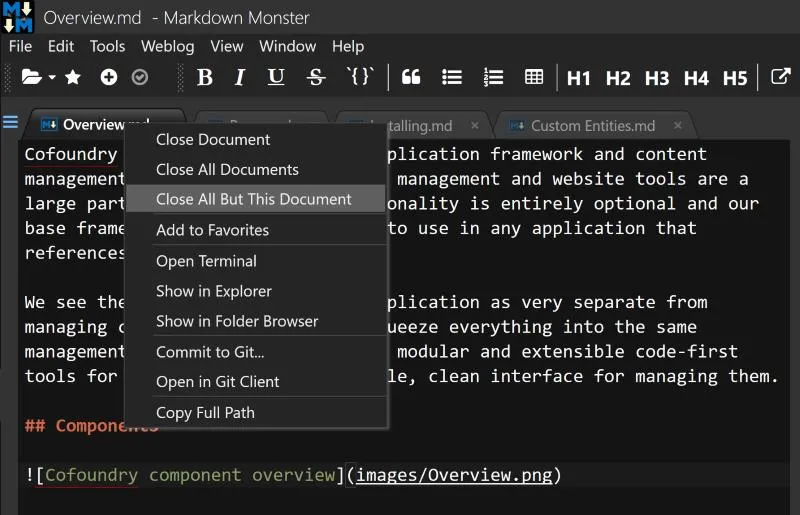
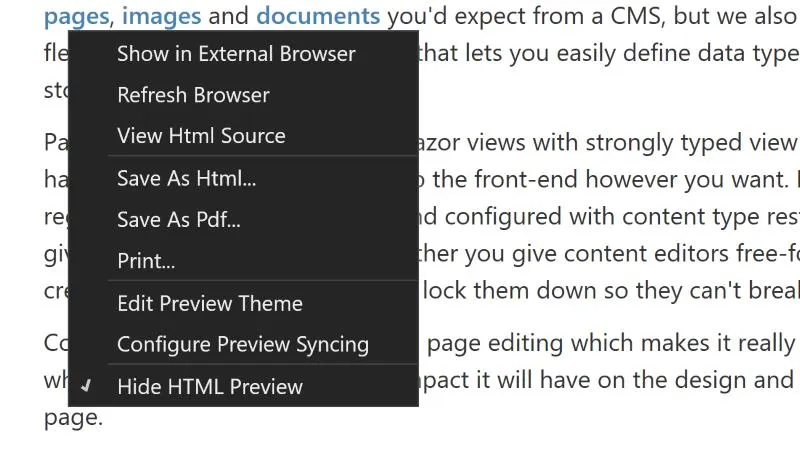
One nice little touch that I love is having a decent amount of options in the context menu on the document tab with two of my most used being Show in Explorer or Close All But This Document:
The same is true for the preview pane which quickly gives you access to export options for pdf and html:
As a .NET developer I spend much of my time in Visual Studio, so one feature that went looking for was a folder explorer, which was not implemented at the time. Markdown Monster is an open source project so I went over to GitHub and added an issue/feature request. It didn’t take long for Rick to respond and within a few weeks the feature had been added! You can even drag images from the folder browser into your markdown file.
I haven’t used some of the more specialist features such as weblog publishing, integrated screen capture and Git integration, but I see how they can be useful. I now write all my blog posts in Markdown Monster so I’ll certainly have to take a look into weblog publishing and see if that’s something we can integrate into Cofoundry.
Re-visiting Visual Studio Code
I’ve been using Markdown Monster for over a year and a half now, however recently Visual Studio Code has added enhanced markdown editing tools, so while writing this post I thought it would be a good idea to re-visit VS Code and see what’s changed.
You can read about VS Code markdown support here.
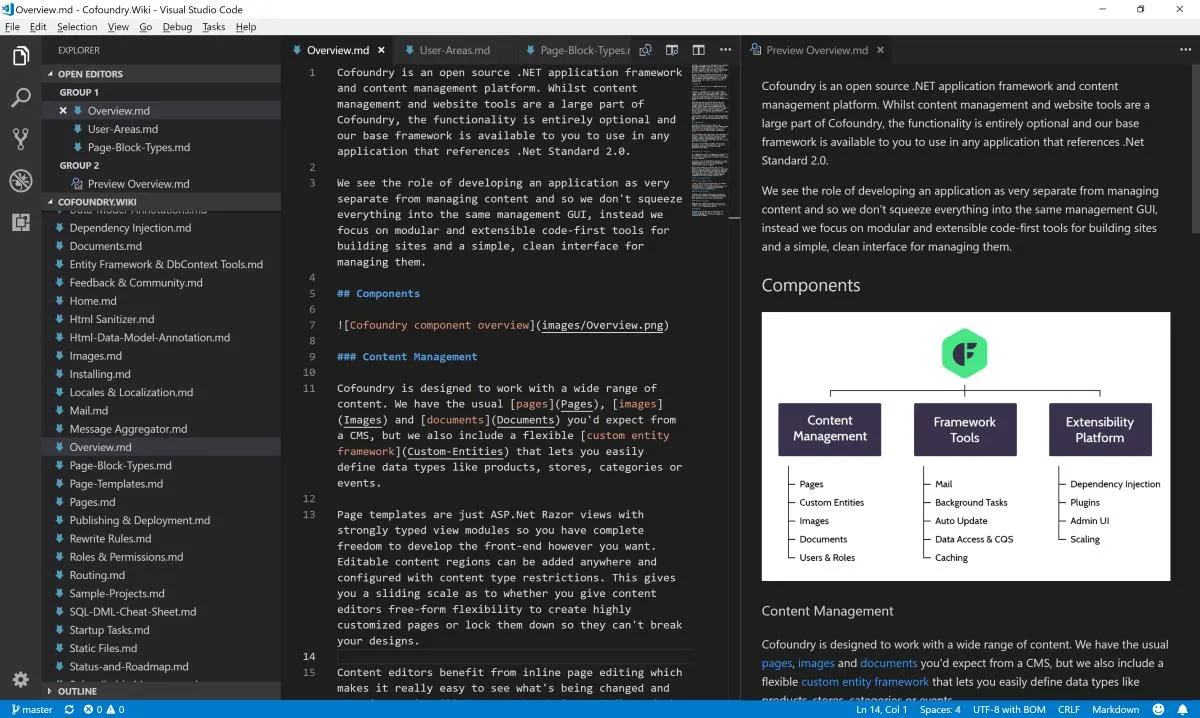
The new tools I think represent most of what I was originally looking for in a markdown editor i.e. the syntax highlighting, preview pane and folder explorer. These features work well, although there isn’t a built-in spell checker which is pretty important if you’re spending a lot of time writing documentation.
Other than the basics it’s a pretty sparse editor, which isn’t necessarily a problem, but having used Markdown Monster for so long there are plenty of little features that I’ve got used to.
It’s also worth considering that VS Code takes up considerably more system resources than Markdown Monster.
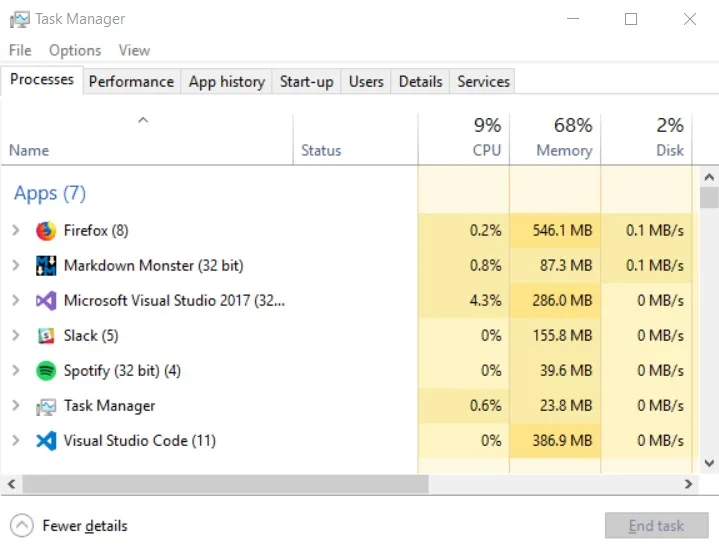
In my not-very-technical tests Markdown Monster generally uses around 70-150mb while active and around 15mb while inactive, whereas VS Code generally sits between 380-500mb when active, and only drops as low as 380mb when inactive.
This isn’t going to be a deal breaker for everyone but even when not documenting I do often keep Markdown Monster open all the time for writing notes and todo lists so it’s handy that it’s not very resource hungry.
Try it yourself
You can download and try out Markdown Monster for free, but a license to continue using it is only $39.
Find out more at https://markdownmonster.west-wind.com/